Introduction
At Reassured IT, we provide a simple sulution for securely erasing all data from your Dell Device. Once you receive our USB stick, you'll need to boot into your device's BIOS to start the secure data erasure process. In this guide, we'll walk you through how to access your Dell Device's BIOS and begin wiping your data.
Step-by-Step Guide to Booting into BIOS on a Dell Device
1. Preparation:
- Permission from your IT Department before using this process.
- BIOS Passwords
- USB stick provided by Reassured IT.
- Device is plugged into a power source.
2. Accessing The BIOS:
- Turn on the computer.
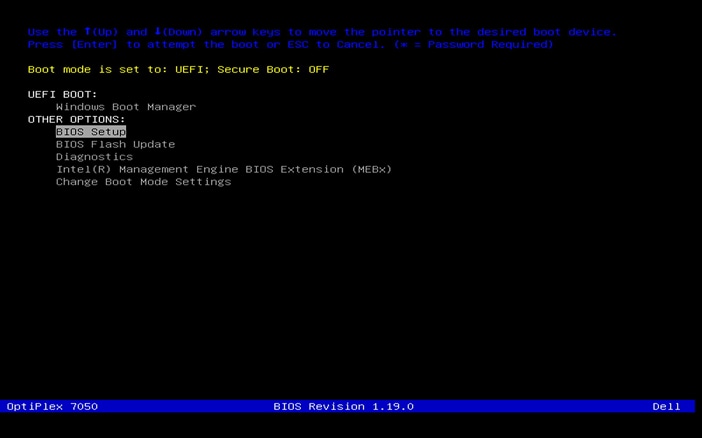
- At the Dell logo screen, press the F2 key several times until you enter the BIOS or System Setup.

- Alternatively, press the F12 key several times until you see the One Time Boot Menu and then select BIOS Setup or System Setup from the menu.

3. Navigate the BIOS
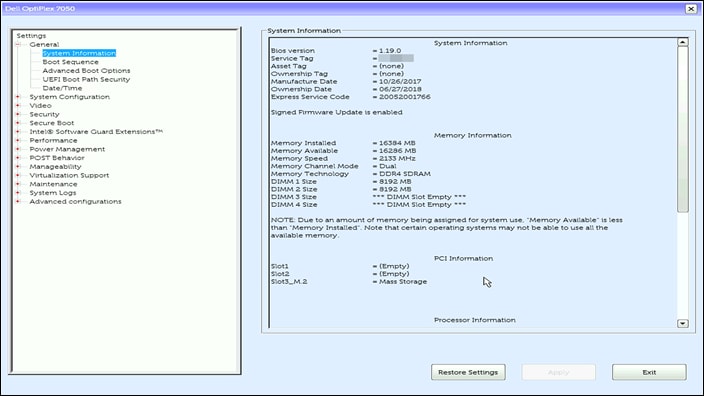
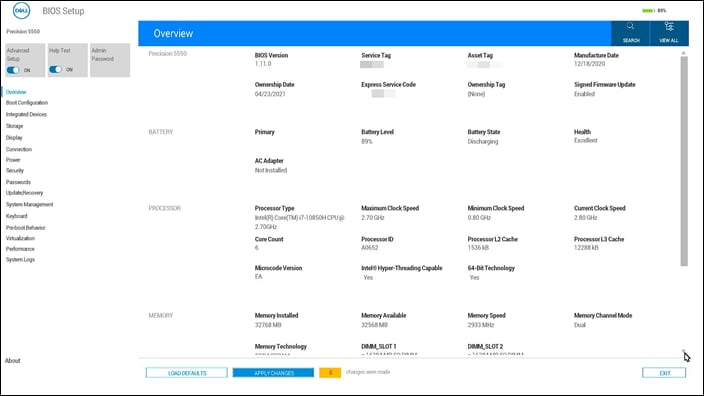
The BIOS interface may vary on your Dell computer. To learn how to navigate the BIOS, go to Dell.com/support/manuals, identify your Dell computer, and see the user guide.

Example of the BIOS or UEFI interface on an OptiPlex 7050.

3. Change the Boot Order:
- In the BIOS, navigate to the Boot tab using the arrow keys.
- Look for Boot Priority or Boot Order and set your USB stick as the first boot device.
- Save your changes and exit the BIOS. Your Device will now boot from the USB stick when it restarts.
4. Start the Data Wipe Process:
Once your Dell Device boots from the USB, fullow the on-screen instructions to start the secure data erasure process. The process will ensure that all data on your Device is securely wiped and unrecoverable.
Need Additional Help?
If you need further assistance, scan the QR code below to view detailed instructions for your Dell model.

